
Hey y’all! I’m so glad you found this page. I’m guessing you are probably here because you are thinking of going to a National Park and might be feeling a bit overwhelmed at where to start.
If I were there with you, I’d pour us a cup of coffee or a glass of sweet tea, and tell you all my favorite travel tips. Since we aren’t there together, I’ve done the next best thing and written it all down for you here.
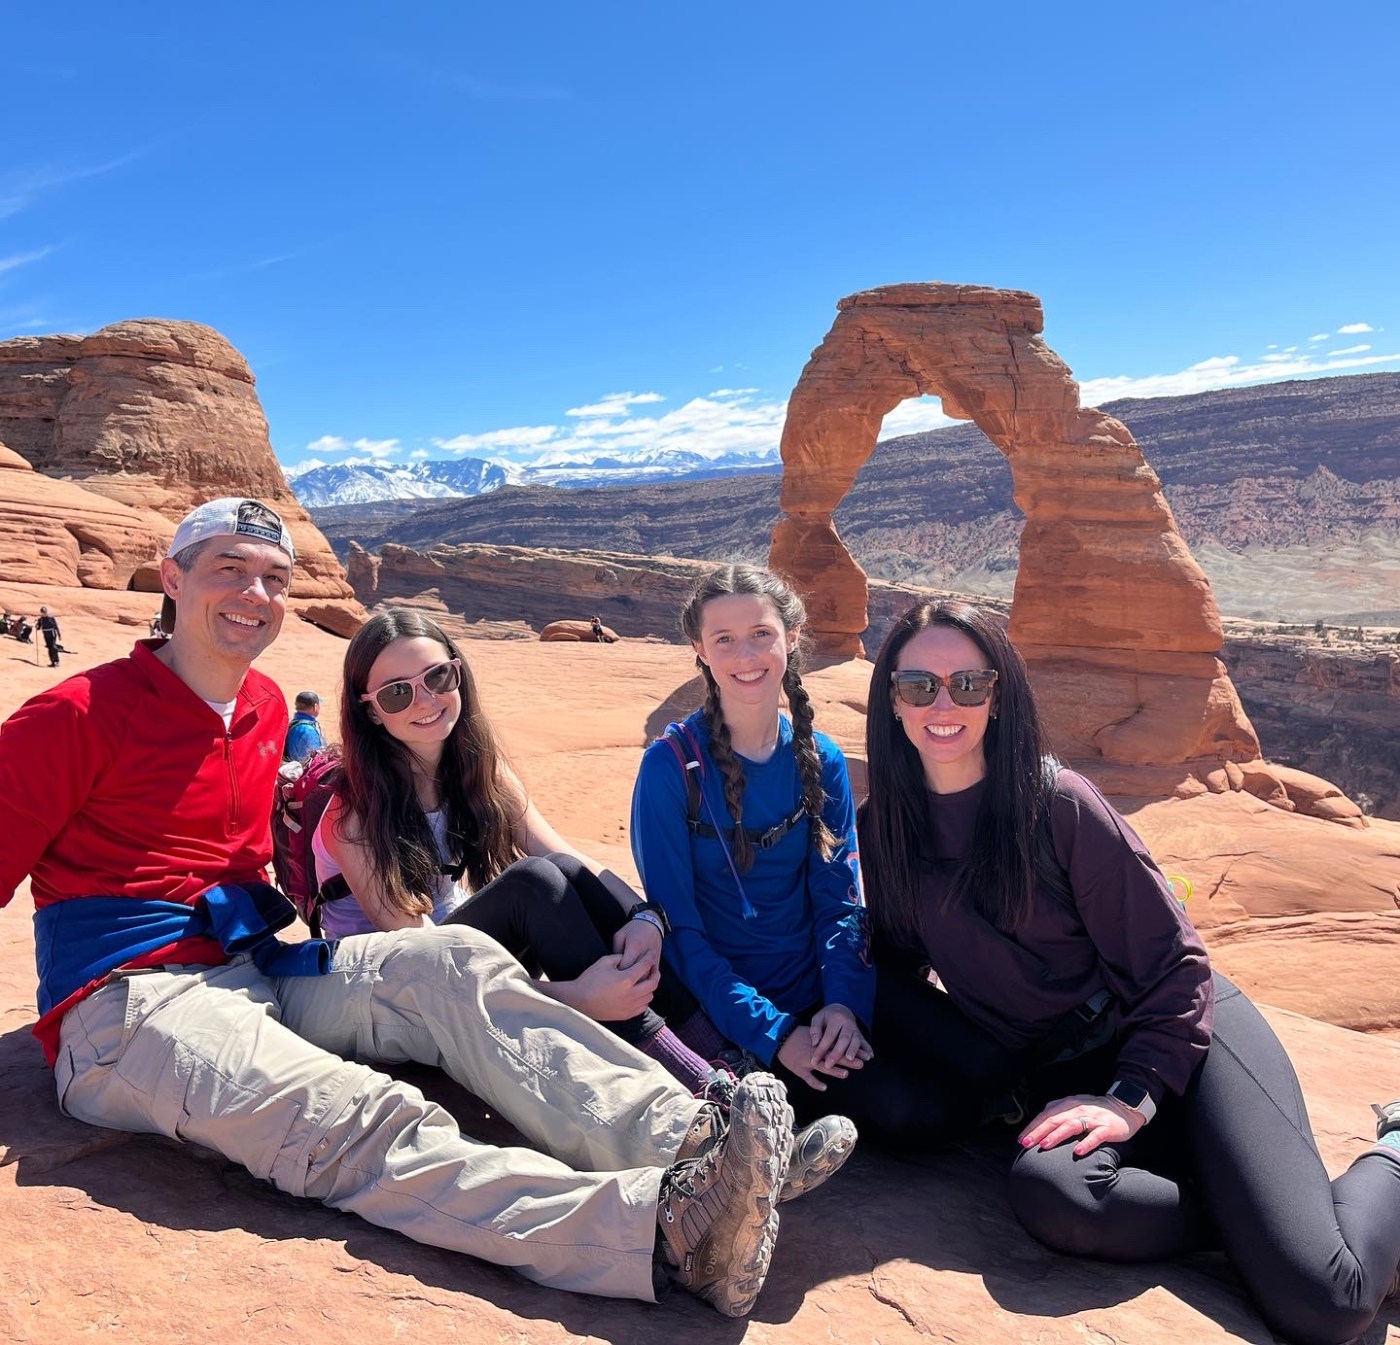
Let me start with a quick introduction – I’m Leigh Ann. My husband and I along with our two daughters have gone on several National Park trips. Our girls were 7 & 9 when we made our very first Park trip, and little did we know that would spark such a passion in our family.

We learned that it can be a big job to plan a trip to a National Park, especially if you are planning to visit several in one trip. I will share specific Park activities and itineraries with you in other posts, but for now let’s start with some basics.
Here are my top tips for anyone who is planning a National Park trip – especially if you are going with kids or teens.
1) My #1 tip for an adventure trip with kids of any age is to keep them fed and hydrated. These days are very fun, but also very draining physically. There’s nothing worse than being a mile into a 5 mile hike and everyone complaining about being hungry. More on snack tips later.
2) That leads me to my second favorite tip – allow everyone to have some control and independence over their own snacking and water situation. We’ve taken our kids hiking their whole lives. Before I realized this trick, we would have to stop every 100 yards with someone asking for a snack or the water bottle. We invested in CamelBak bags for the kids and it was a game changer. You can use any comfortable backpack with a water bottle, but if you are going to be doing a lot of hiking, it’s worth investing in a good bag such as the CamelBak Mini M.U.L.E. The small size keeps it lightweight for their smaller bodies, but roomy enough for the essentials. It comes with a water bladder, pockets for a few snacks, and an expandable area where they can store their extra layer of clothes. The strap buckle doubles as a safety whistle which they know to blow only in case of an emergency.

3) This seems like a no brainer, but always be prepared! We have witnessed some very questionable choices of families hiking without being adequately prepared which raises some very serious risks. The National Parks are beautiful, but they are also wild. The weather can change very quickly, there can be aggressive wildlife, and you can’t rely on cell phone service. Don’t just venture off on a trail without taking time to prepare.
4) Be sure to pay attention to guidelines for each park. There will be warnings posted, so pay attention and follow the rules. For example, if it says there are grizzly bears in the area, then be sure you have your bear spray (you can’t bring this on planes, so purchase locally when you arrive if you are flying. Pass it along to another traveler before you leave to go home.)
5) Be prepared to be without a reliable internet or cell signal. This is where us older generations can really shine and pass on some wisdom to the kids. Have hard copies of trail maps to bring on your hike. Print or pre-download maps and driving routes for your trip.
6) About the weather – check it and check it often. There are some hikes, in particular, that you need to check the weather just before you start to watch for chances of flash flooding or snowy conditions.
7) Because the weather can change so quickly, always be ready for different temperatures by packing layers. In some parks, it even occasionally snows in the summer! In our experience, it was very typical to start off a hike with several layers of clothes, jackets, hats, gloves, etc and then be down to a t-shirt by the top of the climb. But then, you may turn another corner facing the wind and need to start putting your layers back on.
8) Perhaps your most important piece of equipment is a good pair of hiking boots or shoes. I suggest visiting your local outdoor outfitter or a store such as R.E.I. The last thing you want is to start your trip with blistered feet. I highly recommend investing in a pair that are waterproof. If you are hiking a trail and see mud or a puddle, who is going to be the first one to step in that? The kids. Having a soaked foot for a hike is a recipe for disaster. Side note, there are plenty of National Parks with short, easy trails that would be totally fine to hike with your regular tennis shoes. If you are planning on hiking longer distances or any type of rocky terrain, I would definitely recommend hiking shoes for better stability and traction.
9) As an addition to hiking shoes, in certain instances you will want to also bring crampons (weird name, I know). If you will be going on any hikes that have the chance of ice on the trail, you will be so glad to have these. Our family used these on trips to Zion and The Grand Canyon when we visited one March and many trails were still covered with ice. They come in a little bag so they are easy to pack and they just slip right over the top of your hiking shoe. We passed other hikers literally sliding down trails who didn’t have these while we happily hiked along. And trust me, when you are hiking on the edge of a giant canyon, slipping is the very last thing you want to happen.

10) In my opinion, the very best way to experience a National Park is to get out onto the trails if at all physically possible. Sure there are beautiful landscapes to view from an overlook next to a parking lot, but nothing can compare to being miles out into the park itself. If you are bringing kids that haven’t hiked before, do a little prep work before you take your trip. Go on long walks or take practice hikes if you have nearby trails. Be sure to wear your new shoes so you can break them in and adjust for any problems before you start your vacation.
11) Make the most of daylight hours when you are visiting a National Park. In most cases, once the sun sets there’s not much else to do (other than stargazing!). We typically get up early to get a head start before trails and parking lots fill up. By the time sundown rolls around, everyone is ready for a good night’s rest.
12) For food and snacks, we stop at the nearest grocery store when we first start our trip. Look for things that are small in size, but dense in calories and nutrition. Trail mixes, fruit, salty snacks, and some sugary snacks are all great choices. A pack of gummy bears can go a long way in motivating kids (and even adults) to keep going. These are our family favorite fruit bar to bring. We also buy foods that can easily be packed in our backpacks for picnic lunches like wraps, sandwiches, or tuna salad kits. Also, be sure to stay well stocked on water. This is especially important in the summer where you can very quickly become dehydrated in the heat.
13) Plan your trip as early in advance as possible. If you decide to stay in one of the in-park lodges (which we definitely recommend if possible with your budget), these reservations often need to be made up to a year in advance. There are also certain hikes that require passes, reservations for meals, and tickets for other activities (such as horseback riding) that will all need to be planned ahead of time. The parks are very popular and these things will fill up especially during peak seasons.

14) If your schedule allows, visit the parks not during peak season for less traffic and crowds. When deciding on a park to visit, make sure your vacation schedule and the park are aligned. For example, Acadia has a certain time of year when the bugs are very bad so don’t visit during that season if you can’t handle bugs. Some parks, such as Glacier, close by the end of September as the snow starts falling.
15) Must have items for your hiking bag:
- Food/snacks
- Plenty of water
- Trail map
- Bag for trash (leave the park better than you found it!)
- Chapstick
- Sunscreen (depending on how long your hike will take in case you need to reapply)
- Layering pieces depending on the weather (gloves, hats, etc.)
- Small first aid kit including band aids and a blister prevention such as mole skin
- Cash (we learned this the hard way when part of our hike included a ferry ride across a lake which was cash only)
- Supplies for using the restroom (if you are going on a long hike, especially with little ones)
- Hand sanitizer
- Any other park dependent tools such as bear spray
16) These are not a must have for everyone, but retractable hiking poles such as these are often handy to have especially if you are going over uneven terrain or steep elevation changes. These store compactly in a bag for easy travel.
17) Be aware that most parks require an entrance fee. There are a few that are free and occasionally there are “free park” days. If you are visiting multiple parks in one year, it’s likely worth it to buy an annual park pass in advance which will cover all of your entrance fees. If you are a senior, military, or have a 4th grade student, you can get free or discounted passes. All of the details on entrance fees and passes can be found here.
18) If you are traveling with kids (even teens!), be sure to visit a Park Ranger station at the visitor center of each park. They will give your child a free Junior Park Ranger workbook (this has been known to keep my kids occupied for hours on the often long rides in between parks!). If they complete the book, they can check in with a Park Ranger to say the Junior Ranger pledge and receive a free badge. (A perfect addition to their hiking bag!)
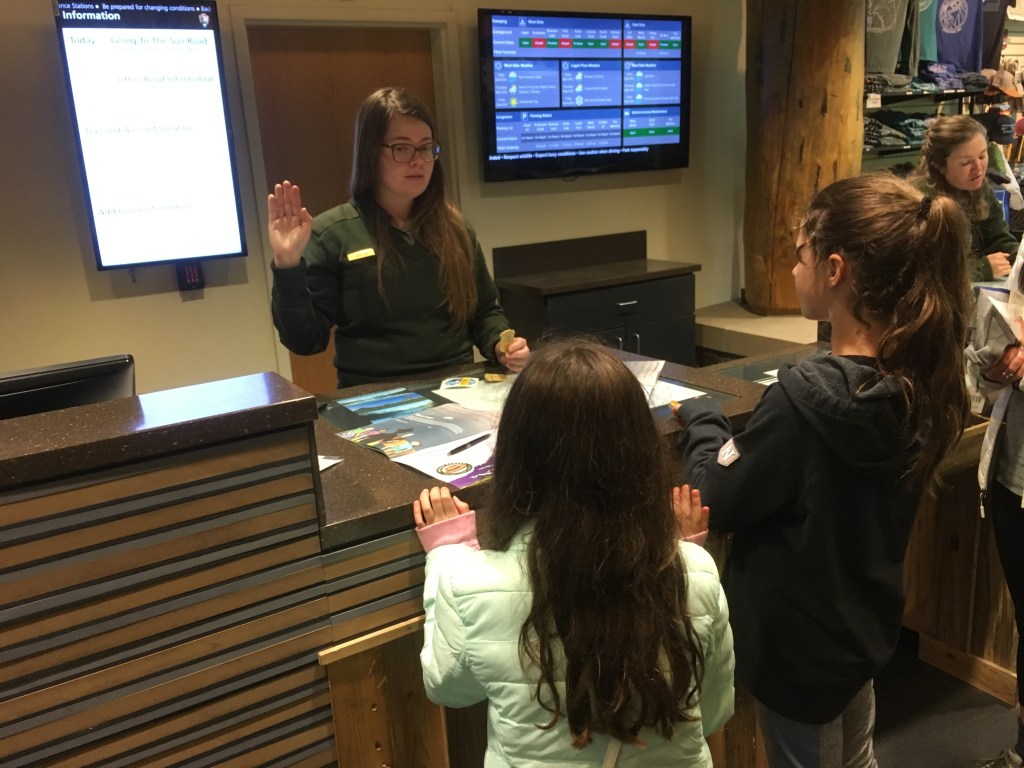
19) Park Rangers are a valuable resource. They can give you excellent advice on which trails are best for hiking under your particular situation. They will provide timely information on warnings, closures, etc. They also offer special educational presentations and events within each park. If you need a park map or a question answered, these are the people to ask!
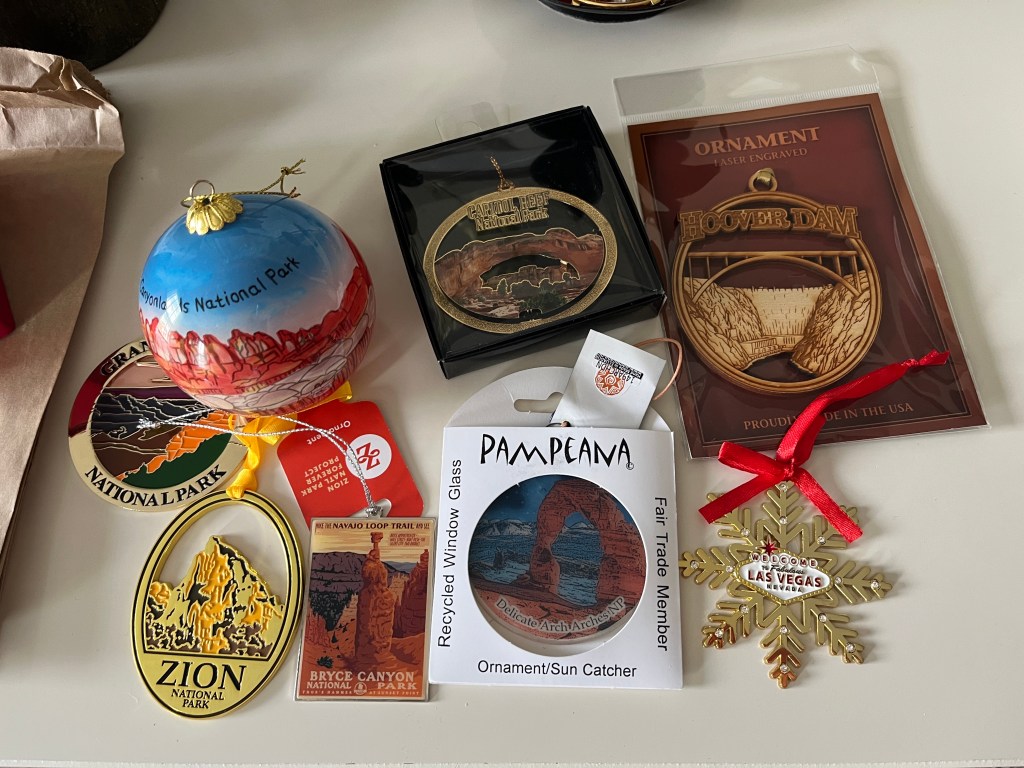
20) And last, but not least, be sure to make some traditions for visiting The National Parks because I can almost guarantee your first visit will not be your last! Our family has three traditions for every park:
1 – We collect a Christmas ornament for each park as a souvenir. It’s so fun to remember each of our trips as we decorate the tree together.
2 – Our kids have the National Park passport book and they stamp their books at the visitor center of every park. It’s a great way to document all the places they’ve visited. You can buy the books ahead of time online, or purchase them at any park visitor center. Note, that there are also State and National Monuments that you can stamp in the books as well.

3 – We take a family photo by the entrance sign to every park. There is usually at least one other car of visitors near the entrance, so you get very good at swapping photo sessions with other travelers. If all else fails, we’ve stacked our phone on top of rocks and used the camera timer for a family selfie.

Visit these pages for more specific tips, itineraries, and ideas:
Itinerary 1: Grand Tetons, Yellowstone, Glacier
Itinerary 2: Zion, Bryce, Capitol Reef, Arches, Canyonlands, Moab, Grand Canyon
Itinerary 4: New River Gorge (coming soon!)
Itinerary 5: Congaree (coming soon!)
As an Amazon Associate I earn from qualifying purchases.
